
0
Cleaning Disc Golf Discs: A Step-by-Step Guide
Disc golf discs pick up all kinds of dirt and grime during regular play and even a spotless looking disc can hide stubborn residue in its grooves. Most players think a quick rinse is all you need and yet, using the wrong cleaning supplies can actually damage the disc’s plastic and ruin its performance. Proper cleaning takes more than a fast scrub and it starts with knowing which common household items could permanently alter your favorite disc.
Table of Contents
- Step 1: Gather Your Cleaning Supplies
- Step 2: Remove Loose Dirt and Debris
- Step 3: Prepare The Cleaning Solution
- Step 4: Clean The Discs Thoroughly
- Step 5: Rinse And Dry The Discs
- Step 6: Inspect For Residue And Store Safely
Quick Summary
| Key Point | Explanation |
|---|---|
| 1. Gather Essential Cleaning Supplies | Use soft cloths, mild soap, and warm water for effective cleaning. Avoid harsh chemicals to protect discs. |
| 2. Remove Loose Dirt First | Use a dry microfiber cloth to gently dislodge debris before washing to prevent scratching. |
| 3. Prepare a Gentle Cleaning Solution | Mix mild dish soap with warm water; avoid strong detergents. Test on a small area first to ensure safety. |
| 4. Clean with Care and Technique | Wipe discs in circular motions from center to rim using a damp cloth. Avoid excessive scrubbing. |
| 5. Rinse and Inspect Thoroughly | Rinse with cool water and dry with a lint-free cloth. Check for residue and store discs properly to maintain condition. |
Step 1: Gather Your Cleaning Supplies
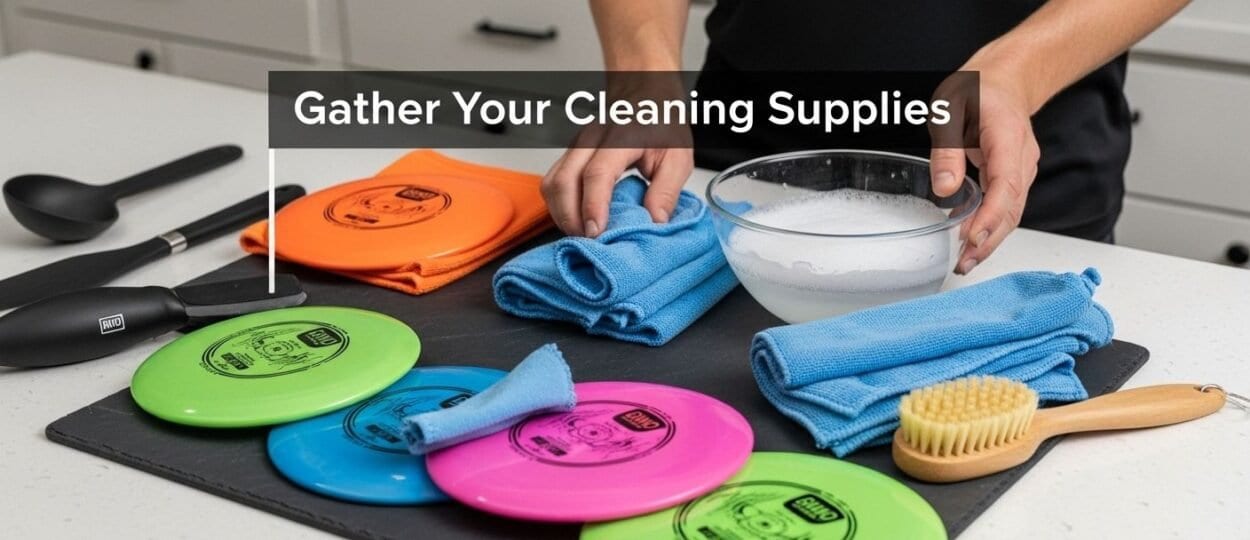
Cleaning disc golf discs requires specific supplies and a strategic approach to ensure your discs remain in top condition. Before you begin the cleaning process, collecting the right tools will make your maintenance routine efficient and effective. The goal is to have everything prepared so you can clean your discs thoroughly without interruption.
Essential Cleaning Supplies
Your cleaning toolkit should include several key items that will help you remove dirt, grime, and debris from your disc golf discs. Start by gathering a few soft, lint-free microfiber cloths which are gentle enough to clean delicate disc surfaces without causing scratches. You will also want to have warm water and a mild, non-abrasive soap on hand. Avoid harsh chemicals or detergents that could potentially damage the disc’s plastic composition.
Additional recommended supplies include a soft-bristled brush for more stubborn dirt, rubbing alcohol for disinfecting, and paper towels for drying. According to the Hazelwood Disc Golf Course guidelines, maintaining clean discs is crucial not just for performance but also for hygiene during gameplay.
Some players also find it helpful to have separate cleaning cloths for different purposes. Consider having one cloth specifically for initial dirt removal, another for applying soap or cleaning solution, and a third clean, dry cloth for final wiping and polishing. This approach helps prevent cross-contamination and ensures a more thorough cleaning process.
Before starting, clear a workspace with good lighting and enough room to spread out your discs and cleaning supplies. A clean, flat surface like a kitchen counter or a dedicated cleaning area will make the process smoother. Having all your supplies within easy reach will help you move through the cleaning steps quickly and systematically.
Here is a summary table of essential disc golf disc cleaning supplies mentioned in the article, including their purpose and important notes for each one to ensure safe and effective cleaning.
| Supply | Purpose | Notes |
|---|---|---|
| Microfiber cloths | Wipe and clean disc surfaces | Use separate cloths for different cleaning steps |
| Mild dish soap | Create a gentle cleaning solution | Avoid soaps with harsh chemicals or abrasives |
| Warm water | Used with soap for dissolving dirt | Ensure water is lukewarm, not hot |
| Soft-bristled brush | Remove stubborn dirt from grooves/rims | Use gentle strokes to prevent scratching |
| Rubbing alcohol | Disinfect or break down tough grime | Use sparingly and test on a small area first |
| Paper towels | Dry discs if microfiber cloths are not available | Pat surfaces gently, do not rub vigorously |
Step 2: Remove Loose Dirt and Debris
Removing loose dirt and debris is a critical first action in cleaning disc golf discs, preparing them for a more thorough washing. This initial step helps prevent scratching during the deeper cleaning process and ensures that surface contaminants are effectively eliminated before applying any moisture or cleaning solutions.
Initial Dry Cleaning Technique
Begin by holding your disc under natural light to identify areas with visible dirt, mud, grass, or other particles. Use a soft, dry microfiber cloth to gently brush away loose debris. Avoid using excessive pressure which could potentially push dirt into the disc’s surface or cause microscopic scratches. Instead, use light, sweeping motions that move dirt away from the disc’s center toward its edges. This technique helps collect loose particles without grinding them into the plastic.
For discs with more stubborn dry debris, a soft-bristled brush can be an excellent tool. Hold the disc at a slight angle and use gentle, directional strokes to dislodge dirt. Pay special attention to the disc’s rim and inner grooves where mud and small stones can accumulate. According to the Centers for Disease Control and Prevention’s cleaning guidelines, removing foreign material is essential before applying any further cleaning methods.
If your disc has dried mud or caked-on dirt, allow it to air dry completely before attempting to remove the debris. Trying to clean wet mud can cause smearing and potentially damage the disc’s surface. Once the mud is dry, you can carefully tap the disc against a soft surface to help loosen and remove hardened particles. Remember that patience during this initial cleaning stage will help protect your disc’s integrity and performance.
Successful completion of this step means your disc is free of loose dirt, with no visible debris clinging to its surface. The disc should look noticeably cleaner and feel smooth when you run your fingertips gently across its surface, signaling you are ready to move to the next stage of cleaning.
The table below summarizes each cleaning step in the process, including its main focus and the key tip to remember for effective disc golf disc maintenance.
| Step | Main Focus | Key Tip |
|---|---|---|
| Gather Cleaning Supplies | Assemble all items before cleaning | Prepare a well-lit, clutter-free workspace |
| Remove Loose Dirt/Debris | Dry removal of dirt, dust, mud | Use light sweeping motions, avoid pressure |
| Prepare Cleaning Solution | Mix mild soap and warm water | Test solution on a small area if unsure |
| Clean Discs Thoroughly | Gently wipe down all disc surfaces | Use circular motions, start from center |
| Rinse and Dry Discs | Remove soap and excess moisture | Pat dry with lint-free cloth, air dry if possible |
| Inspect and Store Safely | Check for residue, store in safe place | Store dry, out of sun and away from heat sources |
Step 3: Prepare the Cleaning Solution
Preparing the right cleaning solution is crucial for safely and effectively removing dirt and grime from your disc golf discs without causing damage to their surface or compromising their performance. The goal is to create a gentle yet effective cleaning mixture that will lift dirt without harming the disc’s plastic material.
Selecting the Right Cleaning Ingredients
Begin by choosing a mild dish soap that does not contain harsh chemicals or abrasive additives. Avoid using dish soaps with heavy degreasing agents or antibacterial properties, as these can potentially degrade the disc’s plastic composition. Select a clear, unscented liquid soap that is known for being gentle. Mix approximately one teaspoon of this mild soap with warm water in a clean container, creating a solution that is sudsy but not overly concentrated.
Water temperature is important during this process. Warm water helps to break down dirt and grime more effectively than cold water, but it should never be hot enough to potentially warp or damage the disc’s plastic. The ideal water temperature is lukewarm, similar to what you would use for washing delicate clothing. Avoid using water that is steaming or uncomfortably hot to the touch.
If your discs have particularly stubborn dirt or are extremely soiled, you might consider adding a small amount of rubbing alcohol to your cleaning solution. However, use this sparingly and only when necessary. Mix no more than a few drops of rubbing alcohol per cup of warm, soapy water. This can help cut through more difficult grime without risking damage to the disc’s surface. Be cautious and test the solution on a small, inconspicuous area first to ensure it does not cause any discoloration or degradation.
Successful preparation of your cleaning solution means you have created a gentle, effective mixture that is ready to tackle dirt without being too harsh. The solution should be clear, slightly sudsy, and at a comfortable warm temperature. When you dip your cleaning cloth into the solution, it should feel mild and not overly concentrated. This careful approach ensures your disc golf discs will be cleaned effectively while maintaining their integrity and performance characteristics.
Step 4: Clean the Discs Thoroughly
Thoroughly cleaning your disc golf discs requires a methodical and gentle approach that removes dirt and grime without damaging the disc’s surface or altering its performance characteristics. This critical step will transform your discs from muddy and dirty to pristine and ready for play.
Cleaning Technique and Motion
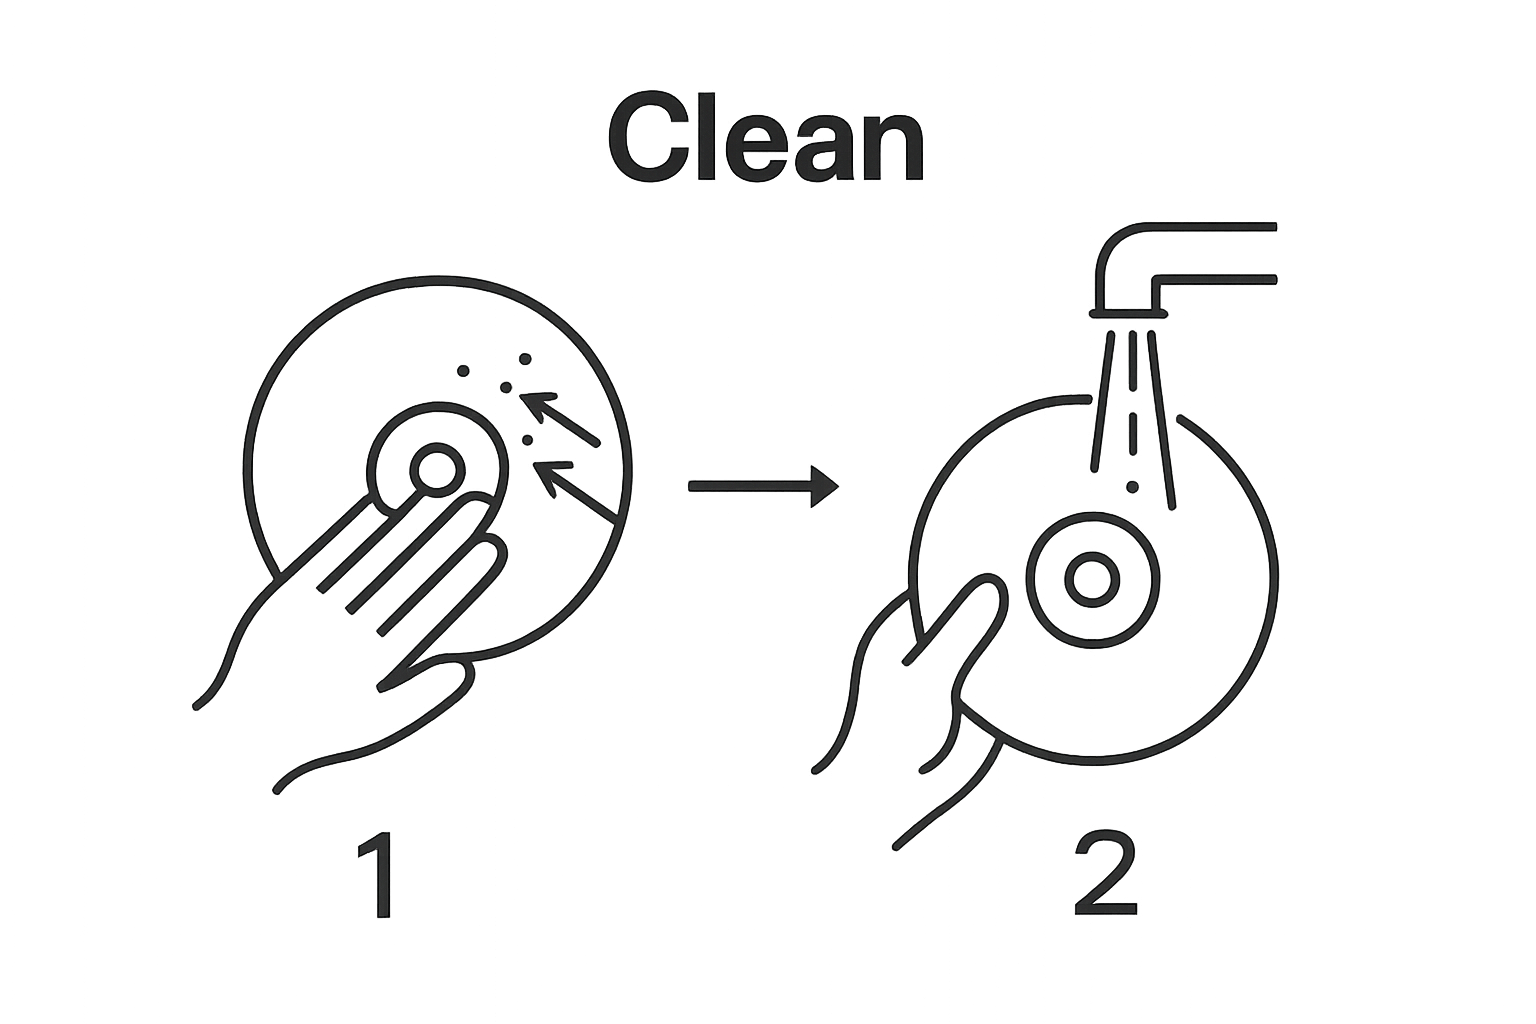
Dip your soft microfiber cloth into the prepared cleaning solution, ensuring it is damp but not soaking wet. Wringing out excess liquid is crucial to prevent water from pooling on the disc’s surface or potentially seeping into small crevices. Begin cleaning from the center of the disc and use circular motions that move outward toward the rim. This technique helps distribute the cleaning solution evenly and prevents concentrating pressure in one area.
Apply gentle, consistent pressure while cleaning. Avoid scrubbing harshly, which could create microscopic scratches that might affect the disc’s aerodynamics. For stubborn dirt or embedded grime, use a soft-bristled brush with light, deliberate strokes. Pay special attention to the disc’s rim and inner grooves where dirt tends to accumulate. According to the American Cleaning Institute’s guidelines, using a nonabrasive approach is essential when cleaning plastic surfaces.
If your initial cleaning pass does not remove all dirt, repeat the process with a fresh section of your microfiber cloth. Rotate the cloth frequently to ensure you are always using a clean surface. For discs with particularly challenging dirt, you might need to make multiple gentle passes. Always rinse your cloth in clean water and wring it out thoroughly between cleaning attempts to avoid spreading dirt around the disc’s surface.
Successful disc cleaning is evident when the surface looks uniformly clean, with no visible dirt streaks or remaining grime. Run your fingertips lightly across the disc to feel for any remaining rough spots. The disc should feel smooth and have a consistent texture. At this point, you are ready to move on to the final rinsing and drying stages of the cleaning process.
Step 5: Rinse and Dry the Discs
Rinsing and drying your disc golf discs is a critical final stage in the cleaning process that removes any remaining soap residue and prevents water spots or potential damage. This step ensures your discs are completely clean, dry, and ready for optimal performance during your next game.
Rinsing Technique
Begin by rinsing your discs with cool, clean water to remove all soap residue. Hold the disc under a gentle stream of water, rotating it to ensure all surfaces are thoroughly rinsed. Avoid using high-pressure water sources like sprayers or forceful faucet streams, as these can potentially damage the disc or force water into small surface crevices. Instead, use a gentle, steady stream that allows water to flow smoothly across the disc’s surface.
Use your clean hands to gently rotate the disc while rinsing, ensuring that no soap remains on any part of the surface. Pay special attention to the disc’s rim and inner grooves where soap can easily accumulate. According to the Library of Congress preservation guidelines, handling discs carefully during cleaning and drying is crucial to maintain their integrity.
Drying Process
After rinsing, use a clean, lint-free microfiber cloth to dry your disc. Gently pat the disc rather than rubbing vigorously, which could potentially introduce new surface scratches. Start from the center of the disc and move outward in smooth, circular motions that follow the disc’s natural contours. Rotate the cloth frequently to ensure you are using a clean, dry section and to prevent spreading any remaining moisture.
For the most thorough drying, allow the disc to air dry completely in a well-ventilated area away from direct sunlight or heat sources. Direct heat can potentially warp the disc’s plastic, affecting its flight characteristics. Place the disc on a clean, dry surface with good air circulation. Your disc is completely dry when its surface feels completely smooth and shows no signs of water droplets or moisture.
Successful completion of this step means your disc is spotless, completely dry, and ready for storage or your next disc golf adventure. The surface should look clean, feel smooth, and show no remaining soap residue or water spots.
Step 6: Inspect for Residue and Store Safely
Inspecting your disc golf discs after cleaning is a crucial final step that ensures your equipment remains in top condition and is properly prepared for future use. This meticulous process helps identify any remaining dirt, potential damage, or areas that might require additional attention before storage.
Visual and Tactile Inspection
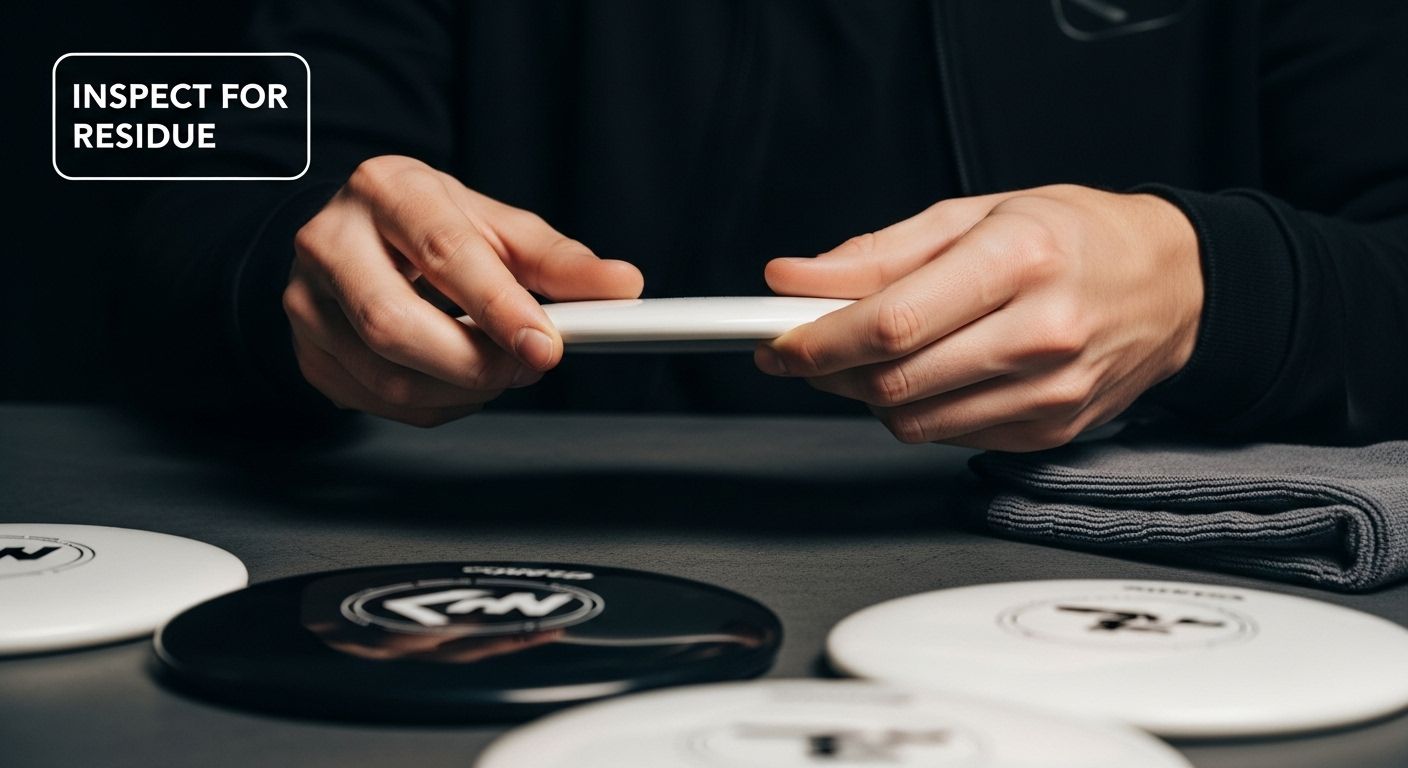
Hold the disc under bright, natural lighting to perform a comprehensive inspection. Rotate the disc slowly, examining its entire surface from multiple angles. Look for any remaining soap residue, water spots, or areas of dirt that might have been missed during the cleaning process. Run your fingertips gently across the disc’s surface, feeling for any rough patches, sticky areas, or unexpected texture changes that might indicate incomplete cleaning or potential surface damage.
Pay special attention to the disc’s rim and inner grooves, where dirt and cleaning residue can easily hide. Use a clean, dry microfiber cloth to wipe the surface one final time, which can help reveal any remaining particles or cleaning solution. According to the CDC’s cleaning assessment guidelines, routine visual inspections are essential to ensure cleaning procedures meet the highest standards.
Safe Storage Preparation
Once you are satisfied with the disc’s cleanliness, prepare it for storage in a manner that protects its condition. Choose a storage location that is cool, dry, and away from direct sunlight. Extreme temperatures and prolonged sun exposure can potentially warp or degrade the disc’s plastic composition. If possible, store your discs in a dedicated disc golf bag or a specialized storage container that provides protection from dust, moisture, and accidental impacts.
Organize your discs carefully, avoiding stacking them in ways that might cause unnecessary pressure or potential warping. Some disc golf enthusiasts use individual protective sleeves or dividers to keep each disc separate and prevent scratching. Before placing the disc in storage, make a final quick assessment to ensure it is completely dry and free from any cleaning residue.
Successful completion of this step means your disc is pristine, thoroughly inspected, and safely stored. The disc should look clean, feel smooth, and be positioned in a protective environment that maintains its performance characteristics for your next disc golf adventure.
Restore and Upgrade Your Game with Golf Discs Solutions
Have you just finished cleaning your discs, only to notice stubborn stains, scratches, or signs of wear that affect your performance? If keeping your disc golf discs spotless and in competition-ready condition feels like a challenge, you are not alone. Many players discover that even with the best disc cleaning techniques, aging or damaged equipment can still hinder your throws and control. Protecting your investment and making every throw count starts with the right gear.

If you want your disc golf equipment to look its best and fly with maximum accuracy, it might be time to refresh your set. Find new, high-quality discs and gear at Golf Discs and get the tools you need to keep your collection pristine. Explore our latest selection of disc golf discs and essential accessories designed for durability and performance. Explore our online store now and experience the confidence of using discs in top condition during every round.
Frequently Asked Questions
How do I clean my disc golf discs without damaging them?
To clean your disc golf discs safely, use a soft, lint-free microfiber cloth with a mild soap and warm water solution. Avoid harsh chemicals or abrasive cleaners that can damage the disc’s plastic.
What is the best way to remove stubborn dirt from disc golf discs?
For stubborn dirt, use a soft-bristled brush along with a warm, soapy water solution. Gently scrub the affected areas, especially focusing on the rim and inner grooves where dirt accumulates.
Can I use rubbing alcohol to clean disc golf discs?
Yes, rubbing alcohol can be used, but sparingly. Add a few drops to a mild soapy water solution to help break down tough grime without risking damage to the disc’s surface.
How should I store my cleaned disc golf discs after washing?
After cleaning, ensure your discs are completely dry and store them in a cool, dry area away from direct sunlight. Using a dedicated disc golf bag or protective container can help prevent damage and maintain their condition.