0

How to Start Geocaching: A Beginner’s Guide to Outdoor Fun
Geocaching has turned the world into a giant playground, with over 3 million hidden caches waiting for discovery in nearly every country. Most people think you need expensive gear or hours of planning to join this global treasure hunt. The truth is, you can start searching for your first cache with nothing more than your phone and a curious mindset.
Table of Contents
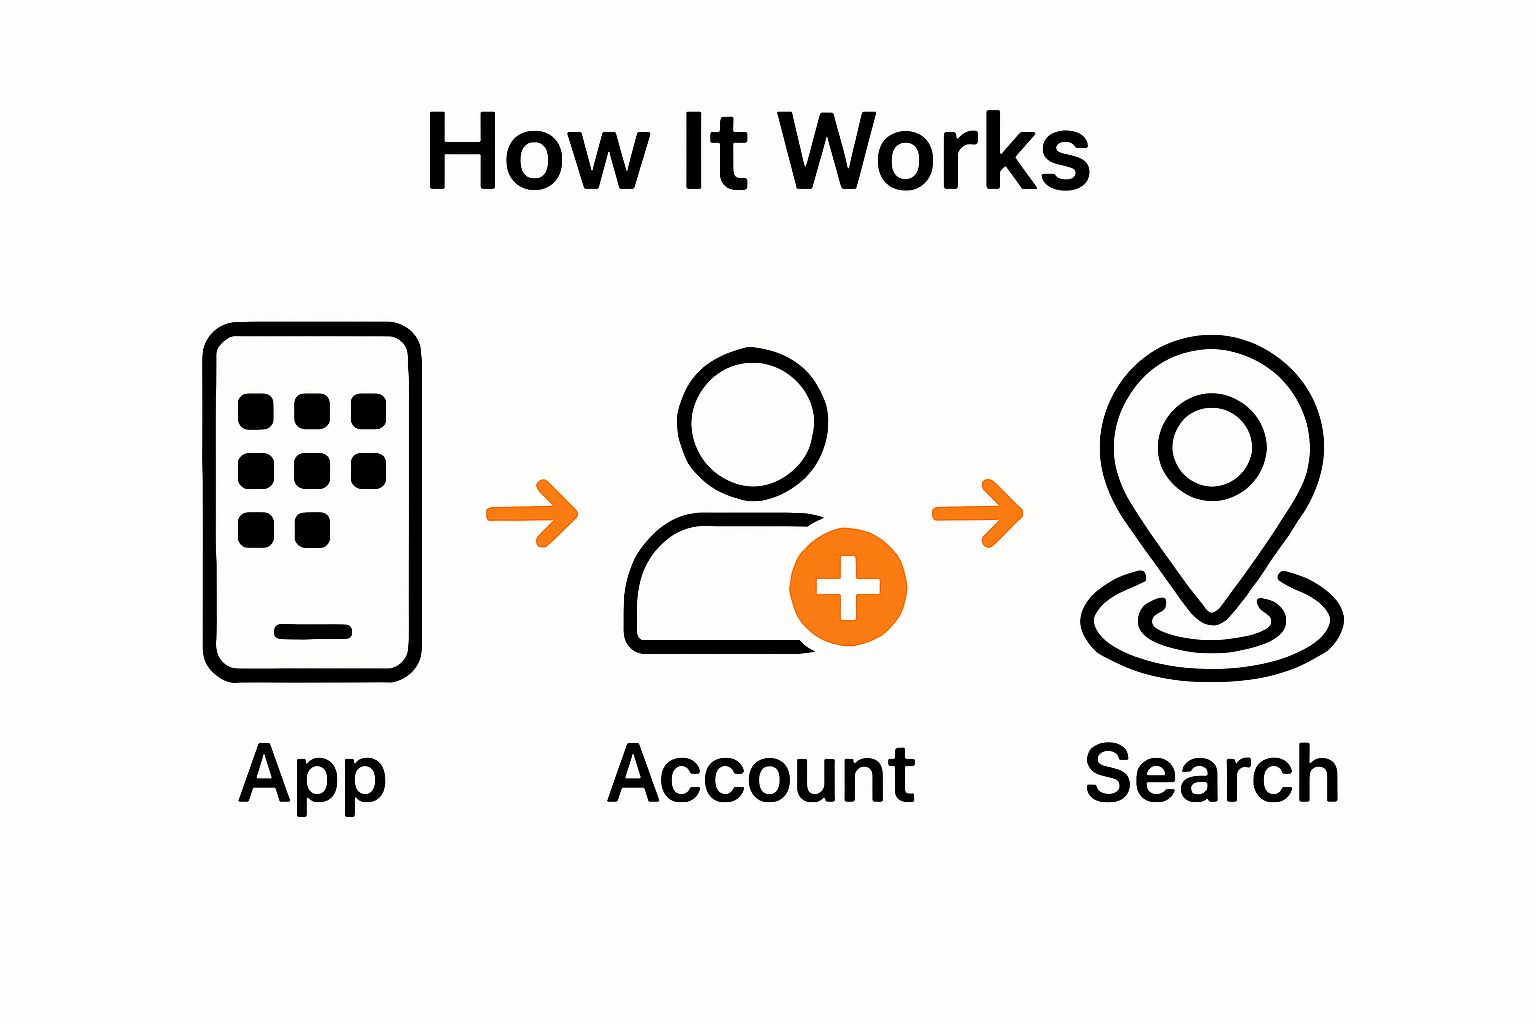
- Step 1: Choose Your Geocaching App Or Gps Device
- Step 2: Create Your Geocaching Account
- Step 3: Search For Geocaches Near You
- Step 4: Plan Your Geocaching Adventure
- Step 5: Find And Log Your First Geocache
- Step 6: Share Your Experience And Explore More
Quick Summary
| Key Point | Explanation |
|---|---|
| 1. Choose a suitable navigation tool | Select between a geocaching app or a dedicated GPS device based on your preferences and needs. |
| 2. Create your geocaching account | Sign up at Geocaching.com for a free or premium membership to access the geocaching community. |
| 3. Start with easy caches nearby | Use your app to find beginner-friendly caches that are quick to locate and accessible. |
| 4. Prepare for your geocaching adventure | Pack a kit with essential items, review cache details, and plan for safety and environmental respect. |
| 5. Log your finds and share experiences | Document your discoveries online and engage with communities to enhance your geocaching journey. |
Step 1: Choose Your Geocaching App or GPS Device
Starting your geocaching adventure begins with selecting the right navigation tool. While traditional GPS devices work, modern smartphones have transformed how geocachers track and discover hidden caches. Most beginners will find a geocaching app the most convenient and user friendly option.
Geocaching Apps: Your Digital Treasure Map
The Geocaching official app stands out as the premier choice for newcomers. This app provides comprehensive features including detailed cache descriptions, difficulty ratings, terrain information, and real time navigation capabilities. Premium memberships unlock additional cache types and advanced search filters, but the free version offers an excellent introduction to the hobby.
When selecting your app, consider key features like offline map downloading, which proves crucial in areas with limited cellular coverage. Some popular alternatives to the official app include c:geo for Android users and Cachly for iOS devices. These apps offer similar functionality and can provide alternative perspectives on geocache locations.
GPS Device Considerations
Traditional handheld GPS devices remain viable for geocaching, particularly for outdoor enthusiasts who prefer dedicated navigation equipment. Brands like Garmin offer rugged models specifically designed for geocaching and outdoor adventures. These devices typically provide superior battery life and durability compared to smartphones, making them ideal for extended expeditions in remote areas.
Here is a comparison table summarizing the main features, pros, and considerations for using geocaching apps versus handheld GPS devices.
| Navigation Tool | Key Features | Pros | Considerations |
|---|---|---|---|
| Geocaching App | Cache details, live maps, real-time navigation, offline maps | User friendly, convenient, beginner ready | Battery life, relies on phone signal |
| c:geo (Android) | Offline caching, alternative interfaces, free | Good for Android users, customizable | Varies in map detail, Android only |
| Cachly (iOS) | Advanced filters, offline lists, robust features | Strong community, tailored for iOS | Paid app, iOS only |
| Handheld GPS Device | Rugged build, long battery, dedicated navigation | Durable, reliable in remote areas | Higher cost, learning curve |
| Garmin GPS | Waterproof, geocaching-compatible, accurate tracking | Excellent for backcountry adventures | Heavier, less intuitive interface |
Whether you choose a smartphone app or dedicated GPS device, prioritize a tool that offers accurate location tracking, easy cache information access, and reliable offline functionality. Your navigation tool is essentially your treasure map, guiding you through exciting geocaching discoveries and helping you track your progress along the way.
Step 2: Create Your Geocaching Account
After selecting your navigation tool, creating a geocaching account is your gateway into the global treasure hunting community. This step transforms you from a curious observer to an active participant in one of the world’s most engaging outdoor activities.
Getting Started with Your Account
Visiting Geocaching.com provides the most straightforward path to account creation. The registration process is simple and typically requires only basic information like an email address, username, and password. Choose a username that reflects your personality or geocaching spirit while maintaining privacy considerations. Pro tip: Avoid using personally identifiable information in your username to protect your online identity.
During registration, you will encounter two primary account options: a free basic membership and a premium membership. For beginners, the free account offers an excellent introduction to geocaching. It allows you to access most basic caches, log your finds, and engage with the community. Premium memberships unlock additional features like advanced cache filtering, pocket queries, and access to premium-only geocaches. However, these extra features can wait until you are certain about your commitment to the hobby.
Completing Your Profile
Once registered, take a moment to complete your profile. While not mandatory, a well crafted profile helps you connect with other geocachers. Include a brief introduction, your favorite cache types, or regions you enjoy exploring. Some geocachers appreciate knowing a bit about the people they might encounter through cache logs or community interactions. Remember that your profile is your digital representation in the geocaching world, so make it welcoming and authentic. After completing these steps, you will be ready to start searching for your first geocache and embarking on an exciting adventure of discovery and exploration.
Step 3: Search for Geocaches Near You
With your account set up, the exciting part of geocaching begins: discovering hidden treasures in your local area. Finding nearby geocaches transforms an ordinary neighborhood or hiking trail into an adventure playground waiting to be explored.
Navigating Your First Cache Search
Open your geocaching app and enable location services to reveal the caches closest to you. Geocaching.com’s interactive map provides an excellent starting point for beginners. The map displays geocache icons with different colors and symbols representing cache difficulty, size, and type. Beginner tip: Start with caches rated as easy (1-2 difficulty rating) and located in accessible public areas like parks or community spaces.
When searching, pay attention to several key details beyond just location. Cache descriptions offer valuable insights about the specific hiding spot, terrain challenges, and any special equipment or skills needed. Some caches require simple walking, while others might involve more challenging terrain like short hiking trails or urban environments. Look for caches with recent activity logs, which indicate the cache is currently active and well maintained.
Logs from other geocachers can also provide helpful hints about potential hiding spots or recent challenges encountered at the location.
Understanding Cache Types and Difficulty
Geocaches come in various types, each offering a unique experience. Traditional caches are the most straightforward, involving a direct search for a container at specific coordinates. Multi stage caches require solving puzzles or visiting multiple locations before finding the final cache. Some urban caches blend seamlessly into city landscapes, while others are hidden in natural settings that demand more exploration and navigation skills. As a beginner, focus on traditional caches with low to moderate difficulty ratings to build confidence and develop your geocaching techniques. Remember that every cache found is a small victory and an opportunity to explore your surroundings with fresh eyes and a sense of adventure.
Step 4: Plan Your Geocaching Adventure
Successful geocaching requires thoughtful preparation beyond simply selecting a cache location. Planning transforms a potential treasure hunt into a safe, enjoyable outdoor experience that maximizes your chances of success while minimizing unexpected challenges.
Essential Preparation Strategies
Before heading out, carefully review the cache details and surrounding terrain. Geocaching guidelines recommend studying the location’s difficulty rating, terrain characteristics, and specific requirements. Important considerations include checking weather conditions, understanding required walking distances, and assessing potential accessibility challenges. Urban caches might demand street parking strategies, while rural locations could require hiking preparedness or specific navigation skills.
Pack a geocaching kit that ensures you are ready for various scenarios. Your kit should include practical items like a smartphone or GPS device with extra battery power, a small notebook for logging, a pen, gloves for handling potentially dirty containers, and a few small trade items if you plan to exchange objects within the cache. Lightweight, versatile gear makes the difference between an enjoyable adventure and a frustrating experience. Consider additional items based on your specific cache location such as water, snacks, comfortable walking shoes, and appropriate clothing for the environment.
To help you pack efficiently for your first geocaching adventure, this table outlines suggested items for your geocaching kit, describing their purpose and any special notes.
| Item | Purpose | Notes |
|---|---|---|
| Smartphone or GPS | Navigation, locating caches | Charge fully; consider extra battery or power bank |
| Notebook & Pen | Logging finds, jotting notes | Essential for caches without pens |
| Gloves | Safe handling of caches | Useful for dirty or concealed locations |
| Trade Items | Swapping items in caches | Keep family-friendly, small, and inexpensive |
| Water & Snacks | Hydration and energy during search | Adjust amount based on distance/terrain |
| Suitable Footwear | Protect feet, comfort for walking or hiking | Select based on environment (urban or rural) |
| Weather-Appropriate Clothing | Environmental protection | Check weather, bring layers as needed |
Security and respect for the surrounding environment are paramount in geocaching. Always inform someone about your planned route and expected return time, especially when exploring remote or unfamiliar areas. Research local regulations and obtain any necessary permissions if caches are located on private or restricted properties. Geocaching etiquette requires leaving the area exactly as you found it, respecting wildlife and natural habitats, and maintaining the subtle art of cache concealment. By approaching your geocaching adventure with careful planning and a responsible mindset, you transform a simple treasure hunt into an enriching outdoor exploration that connects you with your environment and the global geocaching community.
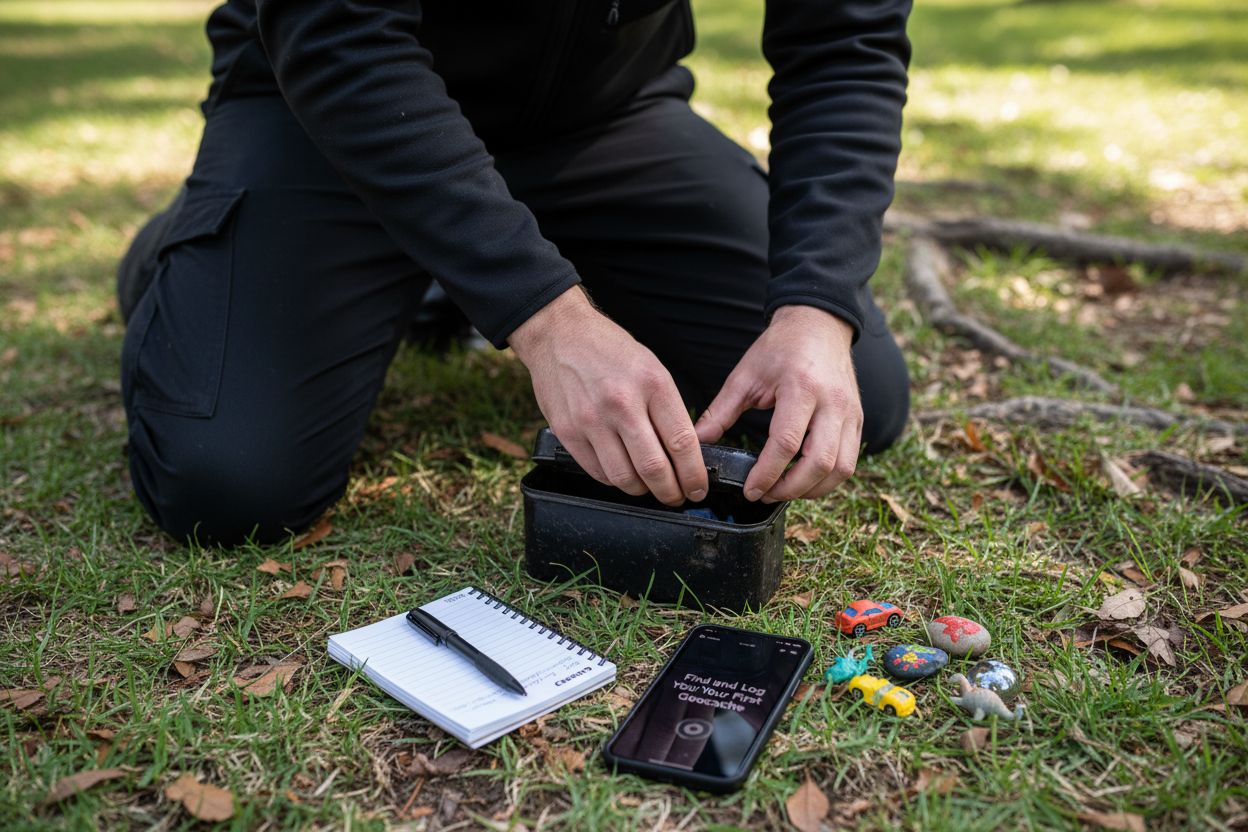
Step 5: Find and Log Your First Geocache
With your preparation complete, the moment of excitement arrives: finding your first geocache. This step requires patience, observation, and a keen eye for detail that transforms an ordinary location into a treasure hunting playground.
Approaching Your Cache Location
As you near the geocache coordinates, switch your app to compass or map mode for precise navigation. Stealth is key in geocaching, especially in public areas where you want to avoid drawing unnecessary attention. Move slowly and carefully, paying attention to the cache description’s hints about potential hiding spots. Some caches might be nestled in tree roots, tucked behind signposts, or cleverly camouflaged within natural surroundings. Geocaching.com’s official guidelines recommend maintaining discretion to prevent non geocachers from accidentally discovering or disturbing the cache.
Logging and Etiquette
Once you locate the cache, carefully open the container and sign the physical logbook with your username and date. If the cache includes small tradeable items, follow the classic geocaching rule: take something if you want, but leave an item of equal or greater value. Some geocachers enjoy leaving unique, family friendly trinkets that tell a story or represent their local area. After replacing the cache exactly as you found it, use your geocaching app to log your find online.
 This digital log helps the cache owner track activity and maintains the community’s interactive spirit. Pro tip: Take a moment to share a brief, positive note about your experience that might help future geocachers. Your log becomes part of the cache’s ongoing story, connecting you with a global network of adventurers who share your passion for exploration and discovery.
Step 6: Share Your Experience and Explore More
Congratulations on completing your first geocache adventure! This final step transforms your individual experience into a vibrant, shared journey within the global geocaching community. Sharing and continuing to explore will deepen your connection to this exciting outdoor activity.
Building Your Geocaching Community
Pro tip: Detailed and engaging online logs are the heartbeat of geocaching communication. When documenting your experience, include interesting observations, challenges you encountered, and any unique moments that made your search memorable. Geocaching community guidelines encourage logs that provide meaningful insights for future geocachers. Think of your log as a digital postcard that helps other treasure hunters understand what to expect at a particular cache location.
Beyond logging, consider expanding your geocaching horizons. Many regions host local geocaching events, meetups, and group expeditions that offer opportunities to connect with experienced geocachers. These gatherings provide valuable tips, introduce you to more complex cache types, and help you develop advanced navigation and problem solving skills. Some geocachers organize cache machine events where groups systematically locate multiple caches in a specific area, turning the solitary hobby into a social adventure.
As you continue exploring, challenge yourself to diversify your geocaching experiences. Progress from traditional caches to more complex multi stage or puzzle caches that require additional problem solving skills. Track your achievements through the digital statistics and badges available on most geocaching platforms. Each cache found represents not just a physical discovery, but a moment of exploration, a story waiting to be shared, and a connection to a worldwide community of adventurers who share your passion for discovery and outdoor exploration.
Take Your Outdoor Adventures to the Next Level with Disc Golf
After planning your first geocaching experience, it is clear that getting outside and exploring brings excitement and satisfaction. But you might find yourself searching for new ways to keep the adventure going or share the outdoors with friends and family. Many geocachers notice that while the thrill of discovering hidden caches is rewarding, sometimes you crave an extra challenge, a social element, or just another reason to discover new parks and trails. That is where disc golf comes into play. Like geocaching, disc golf combines exploration, movement, and the joy of uncovering new places. You do not need special skills to get started, but you will need the right gear.

Ready to turn your next outdoor trip into a memorable sporting experience? Discover how disc golf discs and equipment can add even more adventure to your routine. Whether you want high-quality drivers, sturdy bags, or expert guidance, GolfDiscs.com has everything you need to start strong. Visit now to unlock exclusive offers and bring a fresh sense of fun to your next outing. Adventure does not wait—equip yourself today and make every outdoor journey unforgettable.
Frequently Asked Questions
What is geocaching?
Geocaching is an outdoor recreational activity where participants use GPS devices or mobile apps to hide and seek containers, called geocaches, at specific locations marked by coordinates worldwide.
How do I choose the right app or GPS device for geocaching?
When choosing a navigation tool for geocaching, consider factors such as offline map capabilities, ease of use, battery life, and whether the device or app provides detailed cache information like descriptions and difficulty ratings.
What should I include in my geocaching kit?
A good geocaching kit should include a smartphone or GPS device, extra batteries, a notebook and pen for logging findings, gloves for handling caches, and small trade items for exchanging within the cache. Also, consider packing snacks, water, and appropriate clothing for the environment.
How can I enhance my geocaching experience?
Enhance your geocaching experience by joining local geocaching events, connecting with experienced geocachers for tips, and exploring different types of caches like multi-stage or puzzle caches to challenge your navigation and problem-solving skills.