0
How to Start a Course for Disc Golf: Step-by-Step Setup Guide
Did you know that more than 90 percent of disc golf courses are located in public parks around the world? Finding the right spot is the first step to creating a course players will love and visit again and again. With the right location, your course becomes an inviting community destination that welcomes beginners and seasoned players alike, making disc golf more accessible and enjoyable for everyone.
Quick Summary
| Key Point | Explanation |
|---|---|
| 1. Find a suitable course location | Research local parks for a minimum 5-acre space with diverse terrain, basic amenities, and minimal activity conflicts. |
| 2. Hire a professional course designer | Engage an experienced designer to ensure the layout is challenging, safe, and utilizes natural features effectively. |
| 3. Gather essential disc golf equipment | Provide permanent baskets, tee markers, and safety signage, budgeting about $350 per hole for basics and more for extras. |
| 4. Clearly mark tees and target areas | Create durable signs that clearly indicate hole information, hazards, and the intended throwing line to enhance player navigation. |
| 5. Test play for course refinement | Use temporary baskets to assess shot variety and player flow; gather feedback from different skill levels for needed adjustments. |
Table of Contents
- Step 1: Assess And Select Your Disc Golf Course Location
- Step 2: Design And Lay Out Your Fairways And Baskets
- Step 3: Gather And Prepare Necessary Disc Golf Equipment
- Step 4: Mark Tees And Target Areas Clearly
- Step 5: Test Play And Adjust Course Layout
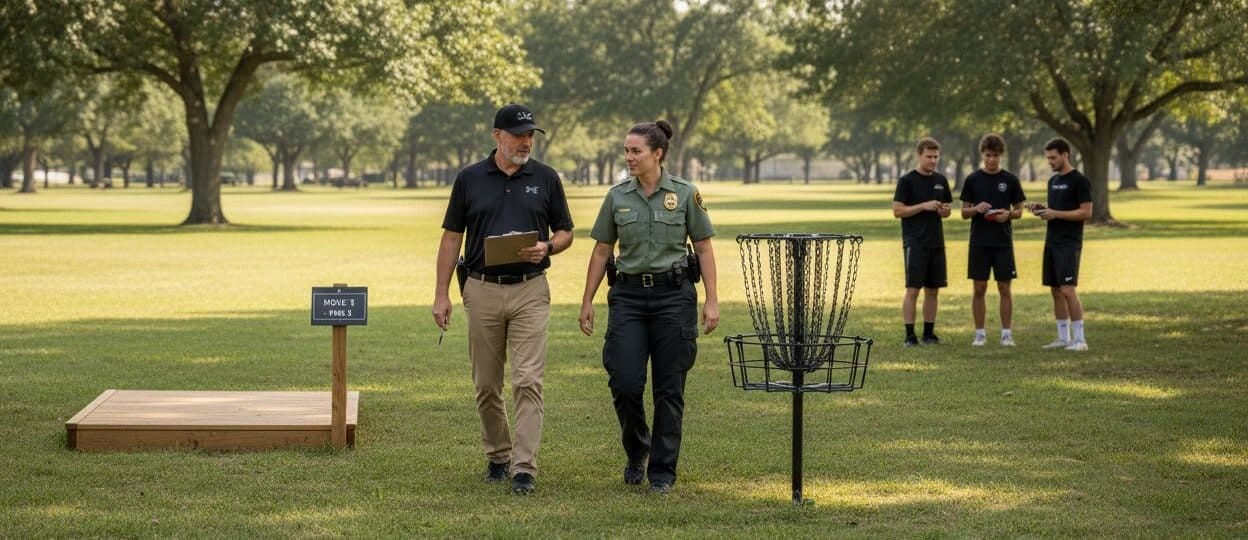
Step 1: Assess and Select Your Disc Golf Course Location
Setting up a successful disc golf course starts with finding the perfect location. This critical first step will determine how enjoyable and accessible your course will be for players.
Begin by researching local parks and public spaces that might be suitable for disc golf. According to the PDGA Clubs Playbook, identifying appropriate properties requires careful evaluation and developing a compelling proposal for landowners or park departments.
Reach out to local park authorities including city, county, state, and federal departments. Review their master plans to understand which parks could potentially accommodate a disc golf course. You will want to look for locations with enough open space, varied terrain, and minimal conflicts with other park activities.
Key factors to consider when assessing a potential disc golf course location include:
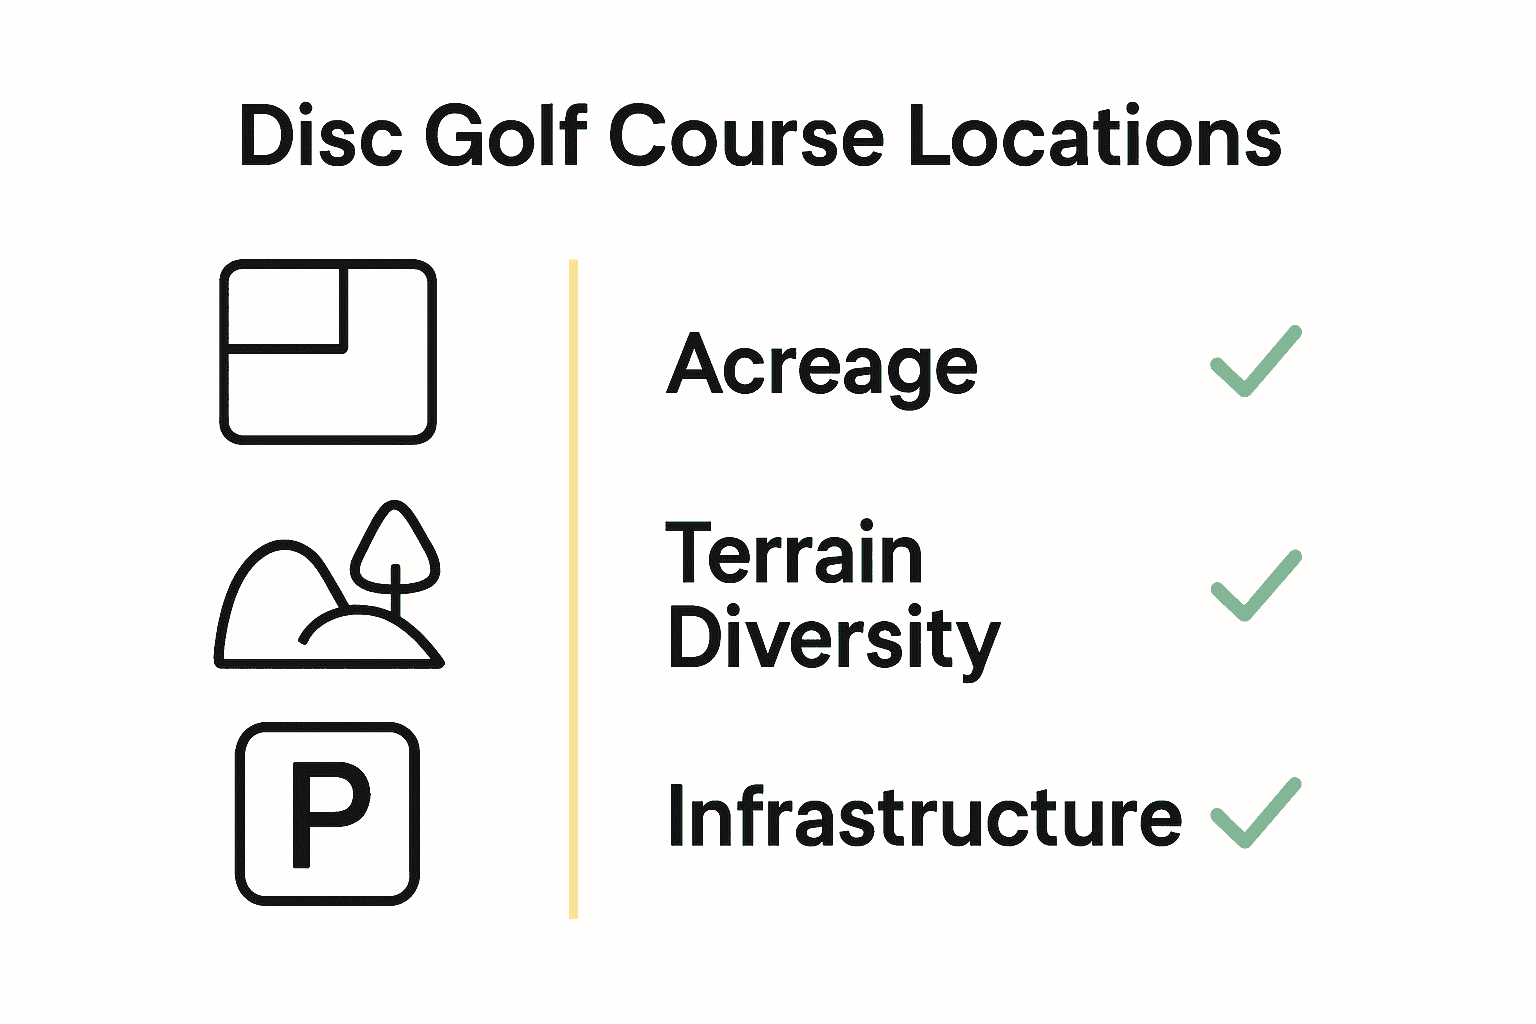
Here’s a comparison of factors to consider when evaluating potential disc golf course locations:
| Factor | Description | Recommended Standard |
|---|---|---|
| Acreage | Total area available | Minimum 5 acres |
| Terrain Diversity | Mix of fields and woods | Varied landscape |
| Infrastructure | Parking, restrooms, water | Basic amenities present |
| Safety | Minimize conflict zones | Separated from paths & rec zones |
| Accessibility | Ease of player entry | Central location, public access |
- Total available acreage (recommended minimum of 5 acres)
- Terrain diversity (mix of open fields and wooded areas)
- Existing park infrastructure (parking, restrooms, water access)
- Minimal interference with walking paths or other recreational zones
- Safety considerations for other park visitors
Pro Tip: Always prioritize safety and obtain official permissions before beginning any course development.
Once you have identified potential sites, create a detailed proposal highlighting the community benefits of adding a disc golf course. Emphasize how the course can attract new park visitors, promote outdoor recreation, and provide a free athletic activity for all ages.
The next step involves presenting your proposal and working closely with local park management to secure approval and support for your disc golf course project.
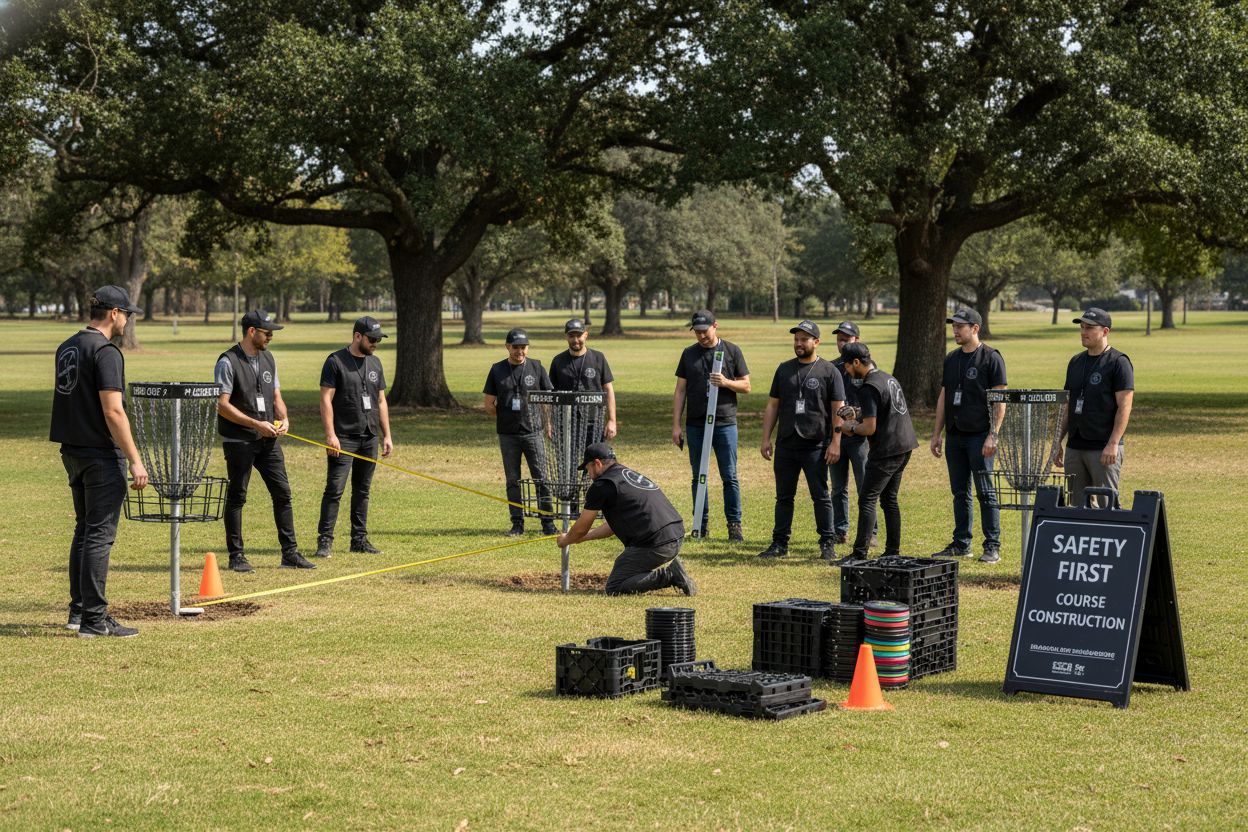
Step 2: Design and Lay Out Your Fairways and Baskets
Designing your disc golf course fairways and basket placements requires strategic planning and careful consideration. This step transforms your selected location into a playable and engaging disc golf experience.
The most critical recommendation from the PDGA is to hire an experienced course designer who understands the technical nuances of layout and safety. While you might feel tempted to design everything yourself, professional input can make a significant difference in course quality.
When planning fairways, focus on creating varied and interesting throwing lines. You want a mix of open shots and technical challenges that will test players of different skill levels. Consider the natural landscape elements like trees, elevation changes, and existing terrain features that can add complexity to your course design.
Basket placement requires careful thought. According to Wikipedia’s disc golf resources, baskets should be permanently anchored and meet specific technical standards. Key considerations include:
- Proper distance between baskets (typically 300 to 500 feet)
- Clear throwing lanes
- Minimal interference with other park activities
- Consideration of wind patterns and natural obstacles
Pro Tip: Always prioritize player safety when designing fairway routes and basket locations.
Your fairways should create a natural flow that guides players through the landscape. Think about how each hole connects to the next and how the overall course layout will challenge and entertain players.
The next phase involves marking your proposed course layout and preparing for detailed measurement and validation of your design.
Step 3: Gather and Prepare Necessary Disc Golf Equipment
Building a disc golf course requires strategic equipment gathering and thoughtful preparation. This step transforms your vision into a tangible playing experience for disc golf enthusiasts.
According to the PDGA, the most fundamental piece of equipment is surprisingly simple a disc. For beginners, start with a lightweight mid-range disc and gradually expand your collection to include drivers, mid-range discs, and putters.
For course infrastructure, you will need several key components. PDGA course development guidelines suggest budgeting carefully. Basic course equipment costs approximately $350 per hole for fundamental elements like baskets. More comprehensive installations including concrete tee pads, signage, and professional design can increase costs to $1000 to $2000 per hole.
Essential equipment for your disc golf course includes:
- Permanent disc golf baskets
- Tee area markers
- Course navigation signs
- Distance markers
- Safety barriers or warning signs
Pro Tip: Invest in quality baskets that can withstand outdoor conditions and frequent use.
When selecting discs for player use, consider offering a variety of weights and styles to accommodate different skill levels. Beginners will appreciate having access to multiple disc types that help them learn and improve their game.
The next phase involves precisely measuring and marking your course layout, ensuring each element is strategically positioned for optimal play and player enjoyment.
Step 4: Mark Tees and Target Areas Clearly
Clearly marking your disc golf course tees and target areas is crucial for player navigation and overall course enjoyment. This step ensures that players can easily understand the intended flow and challenges of each hole.
According to the PDGA Competition Manual, proper marking is essential especially for sanctioned events. Tournament format requires precise identification of tees, target locations, hazard areas, mandatories, and out-of-bounds zones well in advance of any competition.
Start by creating detailed tee signs for each hole. These signs should provide critical information including hole number, distance, par rating, and a basic map or diagram showing the throwing line and basket location. Use durable materials that can withstand outdoor conditions and remain legible over time.
When marking target areas, consider these key elements:
- Clear basket placement markers
- Visible distance indicators
- Directional arrows for hole progression
- Hazard and boundary warning signs
- Optional elevation or terrain difficulty ratings
Pro Tip: Take high quality photos of each hole to help players understand the layout before they arrive.
If you plan to register your course in the PDGA directory, include comprehensive details like precise hole lengths, course maps, and descriptive photographs. This helps other players understand your course design and attracts potential visitors.
The next phase involves fine tuning your course markings and preparing for an initial walkthrough to validate your layout and signage.
Step 5: Test Play and Adjust Course Layout
Testing and refining your disc golf course layout is a critical phase that transforms your initial design into a playable and enjoyable experience. This step ensures your course meets both technical standards and player expectations.
According to the PDGA Clubs Playbook, the best approach is to start with temporary stakes or baskets. This allows you to test the layout without committing to permanent infrastructure. Play through each proposed hole multiple times and carefully assess the throwing lines, potential challenges, and overall flow.
Collaboration is key during this testing phase. PDGA course development guidelines recommend working with local volunteers and community disc golf enthusiasts. Their diverse skill levels and perspectives will help you identify potential issues you might have missed.
Key aspects to evaluate during your test play include:
- Shot difficulty and variety
- Natural obstacles and terrain challenges
- Safety of throwing lines
- Potential congestion or interference points
- Accessibility for players of different skill levels
Pro Tip: Invite players with varying skill levels to provide feedback and experience the course layout.
Document every observation and suggestion. Some holes might need minor tweaks in basket placement or slight adjustments to throwing lines. Be open to making iterative changes that enhance the overall playing experience.
The next phase involves incorporating feedback and preparing for a final course design review before permanent construction begins.
Transform Your Course Vision Into Reality With Trusted Equipment
Are you excited to bring your disc golf course idea to life but feeling frustrated by all the tough choices about baskets, discs, and reliable gear? From safety and durability to offering the right disc selection for all skill levels, creating an engaging disc golf experience demands attention to quality and detail. Your planning has already covered the critical ground of assessing land, designing fairways, and marking the perfect tees. Now let the equipment do the talking for your new course.
Get the confidence that comes from choosing gear trusted by disc golf communities everywhere.

Make your next step count—all the essential discs, permanent baskets, and course-ready equipment are waiting for you at GolfDiscs.com. Explore our full collection and see why organizers nationwide trust us to supply what their course really needs. Shop today and set your course up for success with quality that lasts. Visit GolfDiscs.com right now and build a disc golf course players will love.
Frequently Asked Questions
What factors should I consider when selecting a location for my disc golf course?
To select a location for your disc golf course, consider factors like total acreage (at least 5 acres), terrain diversity, existing infrastructure, safety, and accessibility. Visit local parks to evaluate these features and ensure your chosen site will be suitable for a wide range of players.
How can I effectively design the fairways and basket placements for my disc golf course?
To design the fairways and basket placements, focus on creating varied throwing lines and consider natural landscape elements like trees and elevation changes. Start by sketching your layout on paper, taking into account player safety and flow between holes.
What essential equipment do I need to gather for a disc golf course?
For your disc golf course, gather permanent disc golf baskets, tee markers, course navigation signs, distance markers, and safety barriers. Budget approximately $350 per hole for basic elements, and consider investing in quality materials that can withstand outdoor use.
How should I mark tees and target areas on my disc golf course?
Clearly mark tees and target areas using durable signs that include hole number, distance, and a basic layout. Use visible markers for basket placement and boundary warnings to enhance player navigation and safety on the course.
What steps should I take during the test play phase of my disc golf course setup?
During the test play phase, use temporary stakes or baskets to evaluate your course layout. Play through each hole multiple times, gather feedback from players of different skill levels, and document any necessary adjustments that could improve the overall experience.
How do I prepare my disc golf course layout for final approval and construction?
After testing and adjusting your layout based on feedback, prepare a detailed proposal summarizing the course design, safety considerations, and community benefits. Ensure all changes are documented and seek final approval from local park management before beginning construction.