0
How to Throw Forehand: Master Your Disc Golf Technique
Learning how to throw forehand in disc golf can completely change your game. Most beginners do not realize that something as simple as the right disc can make or break this shot. But what really surprises people is that everything from your grip to your follow-through matters just as much as the disc itself. Mastering these tips could mean the difference between frustration and the kind of smooth, accurate throws that actually land where you want.
Table of Contents
- Step 1: Choose The Right Disc For Forehand Throws
- Step 2: Set Up Your Stance For Maximum Power
- Step 3: Grip The Disc Properly For Optimal Control
- Step 4: Execute The Throw With Perfect Form
- Step 5: Follow Through For Accuracy And Distance
- Step 6: Evaluate Your Throw And Make Adjustments
Quick Summary
| Key Point | Explanation |
|---|---|
| 1. Choose the right disc type | Beginners should use understable or slightly stable discs for better control and form development. |
| 2. Perfect your stance for power | Position feet shoulder-width apart and shift weight for optimal energy transfer during your throw. |
| 3. Grip the disc correctly for control | Use a proper grip with index and middle fingers along the rim to ensure a controlled and accurate release. |
| 4. Focus on smooth execution of the throw | Start with a weight transfer and maintain fluid motion throughout your throwing mechanics for consistency. |
| 5. Evaluate throws and adapt | Analyze your disc’s flight post-throw to identify areas for improvement and make small adjustments to your technique. |
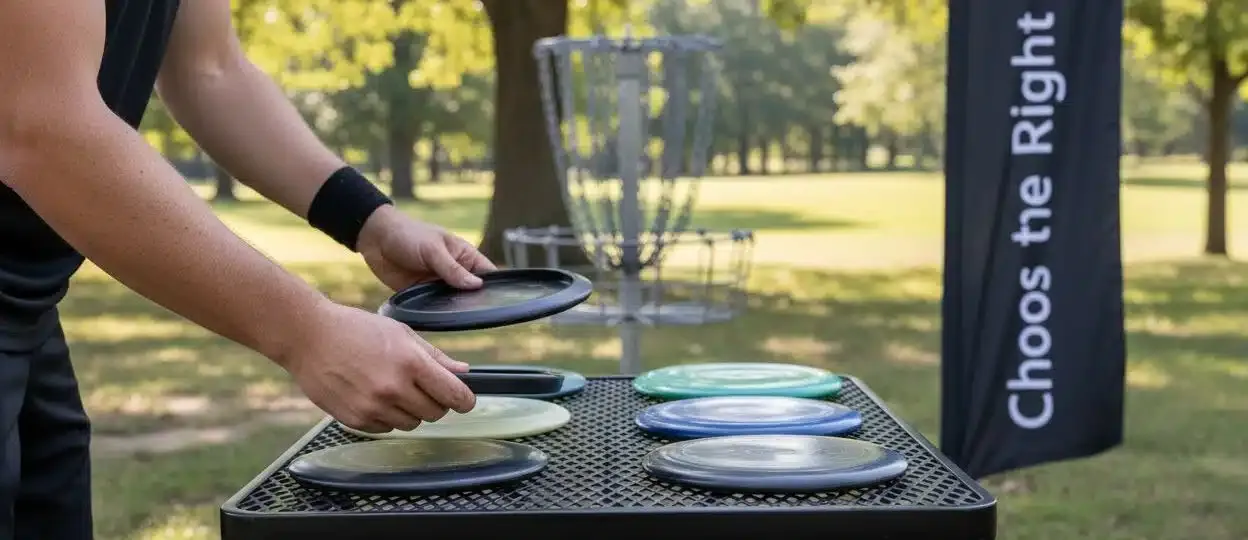
Step 1: Choose the Right Disc for Forehand Throws
Mastering the forehand throw in disc golf starts with selecting the perfect disc for your technique. Not all discs are created equal when it comes to forehand throws, and choosing the right one can dramatically improve your accuracy and distance. Stability and weight play crucial roles in executing a successful forehand shot.
For beginners learning how to throw forehand, understable or slightly stable discs work best. These discs have a design that allows for more predictable flight paths and easier release, helping you develop proper form and muscle memory. Midrange discs are particularly recommended as they offer more control and forgiveness compared to drivers.
When selecting a disc, consider its rim width and grip comfort. Discs with slightly narrower rims provide better control for those new to forehand techniques. Plastic types also matter plastic blends like Star or Champion from popular manufacturers offer durability and consistent performance. Typically, discs weighing between 165 and 175 grams provide an optimal balance between control and distance for most players.
Experienced players often recommend practicing with a neutral or understable midrange disc that allows you to focus on developing clean throwing mechanics before transitioning to more advanced discs. Learn more about selecting the right beginner discs to support your forehand throwing journey. Pay attention to how the disc feels in your hand and its natural flight characteristics during practice sessions.
Here is a comparison table of disc types and features to help with selecting the ideal forehand disc as discussed in the guide.
| Disc Type | Stability | Recommended Weight (g) | Rim Width | Best For |
|---|---|---|---|---|
| Understable Midrange | Understable | 165-175 | Slightly Narrow | Beginners, developing control |
| Stable Midrange | Slightly Stable | 165-175 | Slightly Narrow | Smooth, predictable flights |
| Understable Driver | Understable | 165-175 | Wider | Intermediate, greater distance |
| Stable Driver | Slightly Stable | 165-175 | Wider | Experienced players, increased speed |
| Star/Champion Plastic | Varies by mold | 165-175 | Varies | Durability, consistent grip |
| Heavy Discs | Stable/Overstable | 175+ | Varies | Windy conditions, advanced techniques |
Step 2: Set Up Your Stance for Maximum Power
Perfecting your stance is critical for generating powerful and accurate forehand throws in disc golf. Your body positioning directly influences the disc’s trajectory and overall throwing mechanics. Unlike backhand throws, the forehand requires a more sideways alignment that allows for smooth energy transfer and consistent release.
Begin by positioning your feet shoulder width apart, with your non-throwing side facing the target. Your lead foot should point toward the target, while your back foot remains perpendicular, creating a stable triangular base. Weight distribution is key – shift approximately 60% of your weight onto your back foot during setup, which will help generate rotational power when you initiate the throw.
Arm and shoulder positioning are equally crucial for an effective forehand technique. Keep your throwing arm relatively close to your body, with your elbow bent at roughly a 90-degree angle. Your wrist should be locked and firm, creating a solid connection point with the disc. The ideal stance allows you to rotate your torso smoothly, transferring energy from your lower body through your core and into your throwing arm.
As you practice, focus on maintaining balance and fluidity. Small adjustments in foot placement and body angle can significantly impact your throw’s power and accuracy. Explore advanced throwing techniques for disc golf to complement your forehand skill development. Remember that consistency comes from repeated practice and subtle refinements to your fundamental stance.
This table provides an at-a-glance overview of the main steps for throwing forehand in disc golf, summarizing each step’s focus and primary benefit.
| Step | Focus | Key Benefit |
|---|---|---|
| 1. Choose Right Disc | Select disc suitable for forehand | Enhances control & consistency |
| 2. Set Up Stance | Body positioning and footwork | Maximizes power & stability |
| 3. Grip Disc Properly | Correct grip technique | Increases control & accuracy |
| 4. Execute Throw | Synchronized throwing motion | Produces powerful, clean throws |
| 5. Follow Through | Complete arm and body movement | Improves accuracy & distance |
| 6. Evaluate and Adjust | Analyze and refine technique | Enables ongoing improvement |
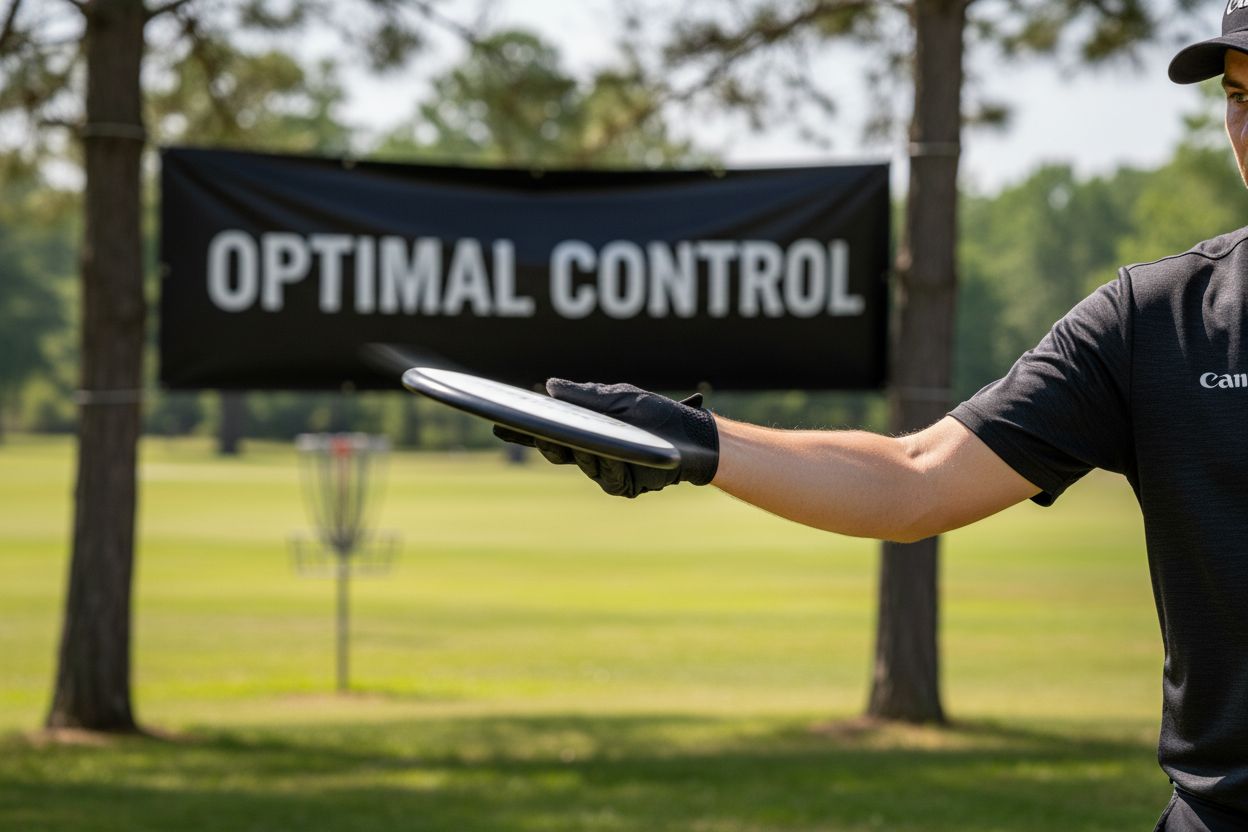
Step 3: Grip the Disc Properly for Optimal Control
A powerful forehand throw begins with understanding the nuanced art of disc grip. The power of your throw is directly connected to how you hold the disc, making this step crucial for developing consistent and accurate forehand techniques. Your grip determines the disc’s release angle, spin, and ultimately its flight trajectory.
The standard forehand grip, often called the “power grip,” involves placing your index and middle fingers along the disc’s inner rim, with your thumb resting on top of the disc’s flight plate. Position your fingers so they create a firm but not overly tight connection. Pressure is key – too loose, and the disc will slip; too tight, and you’ll restrict the natural wrist snap required for spin and velocity.
Experienced disc golfers recommend experimenting with slight grip variations to find your personal comfort zone. Some players prefer extending their index finger slightly further down the rim for additional control, while others maintain a more compact finger placement. The goal is to create a consistent grip that allows for a smooth, controlled release. Check out our guide on advanced disc golf throwing techniques to refine your understanding of grip mechanics.
As you practice, focus on developing muscle memory. Pay attention to how different grip pressures and finger positions affect your disc’s flight. A well-executed forehand grip transforms your throw from merely functional to precise and powerful.
 Practice in front of a mirror or record yourself to analyze and improve your technique, ensuring each throw builds upon the last.
Step 4: Execute the Throw with Perfect Form
Executing a flawless forehand throw requires a synchronized blend of body mechanics and precise movement. The entire throwing motion is a fluid sequence that starts from your lower body and culminates in a crisp disc release. Proper execution transforms your technical knowledge into a powerful, accurate throw that can navigate challenging disc golf courses.
Begin the throw by initiating a subtle weight transfer from your back foot to your front foot. This movement generates rotational energy through your core, creating a whip-like motion that propels the disc forward. Your upper body should rotate slightly ahead of your arm, generating additional power and helping to maintain a consistent throwing plane. The key is maintaining a smooth, controlled rotation that feels natural and repeatable.
As you approach the release point, focus on your wrist snap. The quick, decisive flick of the wrist provides the final acceleration and spin to the disc. Keep your elbow close to your body during the throw, which helps maintain accuracy and prevents wild releases. The release should happen when your arm is fully extended but not locked, allowing for maximum energy transfer.
Explore more advanced disc golf throwing techniques to continue refining your skills.
Practice is essential for developing muscle memory. Start with slower, controlled throws and gradually increase speed and power. Pay attention to your follow-through, which should be smooth and consistent. A good forehand throw ends with your hand pointing toward the target, indicating a clean, controlled release that sets your disc on its intended flight path.
Step 5: Follow Through for Accuracy and Distance
The follow-through is the often overlooked yet critical final component of a powerful forehand throw. Many disc golfers underestimate the impact of a complete, deliberate follow-through on overall throw performance. This concluding motion determines not just your disc’s trajectory, but also helps prevent potential injuries and improves muscle memory for future throws.
After releasing the disc, continue the throwing motion by allowing your arm to complete its natural arc. Your hand should continue moving forward and slightly upward, with your palm ultimately facing the target. This smooth continuation ensures that all the energy generated during your throw transfers completely into the disc. The ideal follow-through feels like a seamless extension of your initial throwing motion, creating a whip-like effect that maximizes spin and distance.
Physical alignment during the follow-through is crucial. Your body should remain balanced, with your weight shifted toward the target and your chest slightly rotated. Avoid abruptly stopping your arm movement, as this can reduce power and potentially cause strain. Think of the follow-through as a continuation of the throw, not a separate action. Discover more advanced disc golf throwing techniques to refine your overall approach.
Practice this final phase as meticulously as you would any other part of the throw. Record yourself to analyze your follow-through, looking for smoothness, consistency, and complete energy transfer. With dedicated practice, your follow-through will become an instinctive, powerful conclusion to every forehand throw, significantly improving your disc golf performance.
Step 6: Evaluate Your Throw and Make Adjustments
The journey of mastering the forehand throw is a continuous process of observation, analysis, and refinement. Self-evaluation is the key to transforming inconsistent throws into precise, reliable techniques. Every throw provides valuable feedback about your form, release, and overall performance, making each attempt an opportunity for improvement.
Begin by tracking your disc’s flight path after each throw. Pay close attention to whether the disc turns over unexpectedly, fades too early, or flies differently than intended. These subtle variations reveal critical insights about your throwing mechanics. Consistent disc flight depends on maintaining uniform grip pressure, body rotation, and release angle. Small adjustments in your stance, grip, or follow-through can dramatically alter your throw’s trajectory.
Utilize visual and technological tools to enhance your analysis. Recording your throws from multiple angles allows you to review your technique frame by frame, identifying subtle nuances that might escape real-time observation. Learn more about improving your short game techniques to complement your forehand skills. Some disc golfers use smartphone apps or specialized tracking software that provide detailed metrics about disc speed, rotation, and flight characteristics.
Remember that improvement is incremental. Focus on making one precise adjustment at a time rather than attempting massive technical overhauls. Develop a consistent practice routine that allows you to experiment, observe, and refine your technique. The most successful disc golfers view each throw as a learning opportunity, maintaining patience and a growth mindset throughout their skill development journey.
Elevate Your Forehand Throw With the Right Disc Golf Gear
Struggling to achieve consistent power, control, and accuracy with your forehand throw? Maybe you are facing frustration with unpredictable disc flights or discomfort in your grip. The article explained how crucial it is to select the right disc, refine your stance, and perfect your grip for a flawless performance. Now it is time to put that knowledge into action with the equipment that matches your goals.

Find the perfect discs and gear to support every tip you have just learned at golfdiscs.com. Get access to beginner-friendly discs, professional-grade equipment, and proven accessories designed to boost your confidence and control. Take the next step today with the leading online disc golf retailer and see how the right tools can fast-track your mastery. Start building your winning bag and turn your technique into real results now.
Frequently Asked Questions
What type of disc is best for forehand throws?
For forehand throws, beginners should use understable or slightly stable discs, particularly midrange discs, which offer more control and easier release. Discs weighing between 165 and 175 grams are typically optimal for balance between control and distance.
How should I position my body for a powerful forehand throw?
Your stance should be shoulder-width apart, with your non-throwing side facing the target. Shift about 60% of your weight onto your back foot during setup to generate rotational power. Additionally, keep your arm close to your body for better control.
What is the proper grip for a forehand throw?
The standard grip, known as the “power grip,” involves placing your index and middle fingers along the disc’s inner rim and your thumb resting on top. Maintain a firm yet controlled grip to ensure a smooth release and proper spin.
How can I improve my follow-through for better throws?
A proper follow-through involves letting your arm continue its natural arc after releasing the disc. Your hand should move forward and slightly upward, ensuring a smooth continuation of the throw, which maximizes spin and distance while maintaining balance.